 Zuki Dots
Connect the Dots Sheets by Age: How Many Dots Each Child Needs (and How to Print Them on A4 Without Cutting Off)
Team at Zuki DotsWritten with AI assistance14 min readIn summary
- What determines the difficulty of a connect-the-dots worksheet is not the total number of dots, but how many millimeters there are between one dot and the next: about 11 mm for 3-5 years, 8.5 mm for 6-8, and 6 mm for 9-12.
- Measured on a reference silhouette, an A4 sheet comes out with 37 dots at the 3-5 years level, 48 at 6-8, 70 at 9-12, and 52 at 13+. The highest level does not have the most dots: there is a separation floor of about 5.7 mm so that the numbers do not overlap.
- For a short worksheet "from 1 to 20", it asks for a compact and single-piece drawing (an egg, a cloud, an apple) at the 3-5 years level: measured, 17 dots.
- The sheet is longer than an A4 sheet (ratio 1.5 versus 1.414 of the ISO 216 standard), so it is printed at 92% of the width: with "margins: none" and "fit to print area" it does not get cut off.
- Zuki Dots, the mini-app from AIsToHire, does exactly that: you write the idea, choose the age range, and it returns the numbered sheet ready to print. The dots are connected on paper, not on screen.
Searching for "connect-the-dots worksheets to print" returns thousands of PDFs, but almost none answer the question that those printing them really ask: how many dots should the sheet have so that a specific child does not get bored or frustrated. This article answers with measured numbers, not with impressions: all figures come from running on October 25, 2026, the actual algorithm used by Zuki Dots, the connect-the-dots app from AIsToHire, on controlled reference silhouettes.
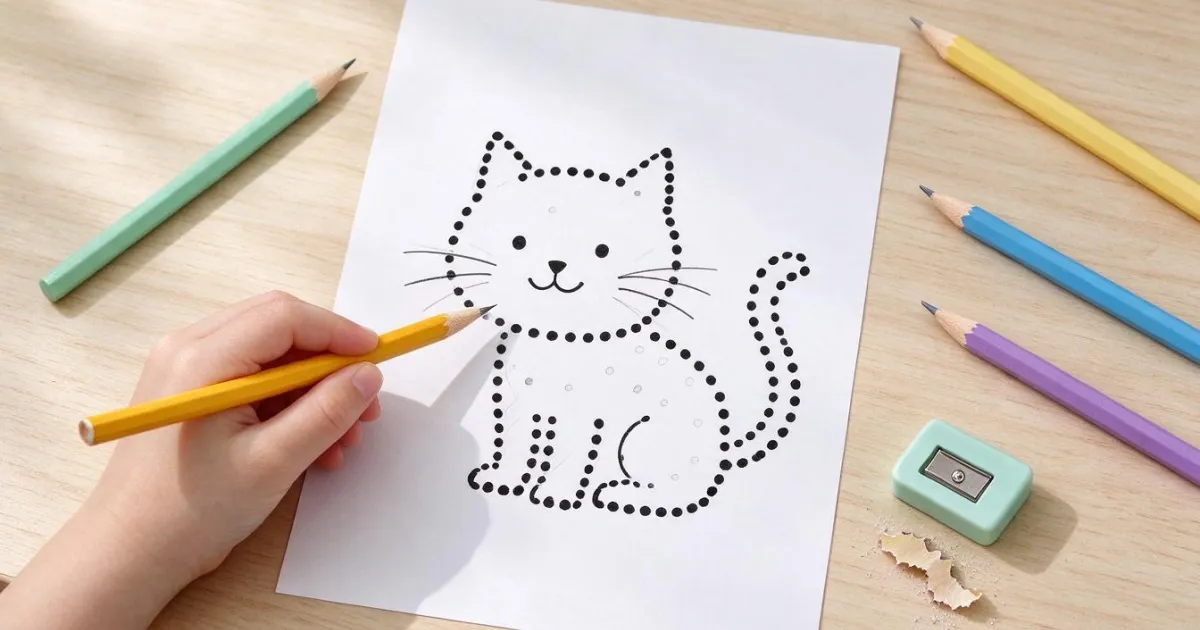
How many dots should a connect-the-dots worksheet have according to age?
Between 30 and 40 dots for 3-5 years, between 45 and 50 for 6-8, and between 65 and 70 for 9-12 years on a vertical A4-sized sheet. What really matters is not that total, but the printed distance between two consecutive dots: about 11 mm for the youngest and about 6 mm starting from nine years. That distance is what decides whether the child can move the pencil from one dot to the next without lifting their hand or getting lost.
The table collects the four levels of Zuki Dots with their internal separation in pixels, how that separation measures once printed on A4, and the number of dots measured on the reference silhouette (an oval of 800 × 1200 px with an eye and a mouth, approximate perimeter of 3,170 px, on a sheet of 1024 × 1536 px).
| Level | Age | Internal separation | Printed separation on A4 | Measured dots |
|---|---|---|---|---|
| Little ones | 3-5 years | 60 px | ≈ 11.3 mm | 37 |
| Kids | 6-8 years | 45 px | ≈ 8.5 mm | 48 |
| Preteens | 9-12 years | 32 px | ≈ 6.0 mm | 70 |
| Teens and adults | 13+ | 22 px | ≈ 5.7 mm (see below) | 52 |
Measurement of October 25, 2026, on the current version of the algorithm. The exact number changes with each drawing because it depends on the total length of the line: a figure with many twists has more perimeter and therefore more dots.
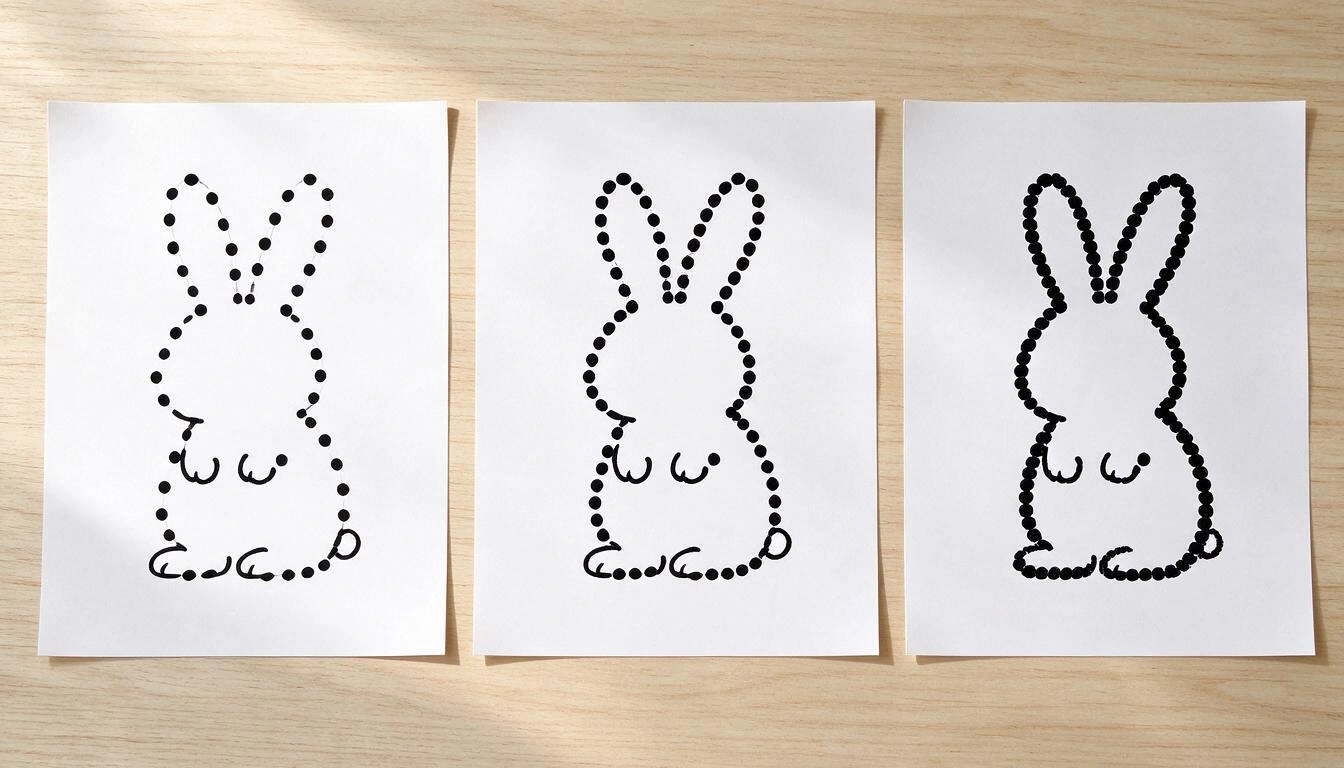
Why more dots does not always mean more difficult?
Because every well-made sheet has a separation floor: if two numbered dots get too close, the numbers overlap and the worksheet becomes illegible. In Zuki Dots that floor is 30 px, about 5.7 mm printed, and it is applied after sampling. Measured consequence: level 13+ (which asks for a dot every 22 px) ends up giving fewer dots than level 9-12 (32 px), because half of the dots generated fall within the floor and are discarded.
These are the four figures we measured, with the dots that each level returns:
| Test figure | Perimeter | 3-5 | 6-8 | 9-12 | 13+ |
|---|---|---|---|---|---|
| Small circle (r = 250 px) | ≈ 1,570 px | 17 | 24 | 33 | 25 |
| Large circle (r = 450 px) | ≈ 2,830 px | 29 | 38 | 54 | 41 |
| Oval 800 × 1200 px | ≈ 3,170 px | 34 | 44 | 64 | 48 |
| Oval with eye and mouth | ≈ 3,170 px | 37 | 48 | 70 | 52 |
| Scene with three loose figures | ≈ 2,830 px | 33 | 45 | 66 | 48 |
The practical thing: if what you want is the densest worksheet with the most numbers, choose the 9 to 12 years level, not the 13+. The teen and adult level is still the one that produces the drawing with the most interior detail (that is controlled by the text requested from the AI), but not the one that distributes the most dots.
How do I get a "1 to 20" or "1 to 50" sheet?
The number of points is not typed: it comes from the size and shape of the drawing. Since the calculation is "length of the line divided by the spacing", to have fewer numbers you need to request a compact, closed figure without nooks, and choose the lowest age level. Measured: a small circle at the 3-5 year level gives 17 points; that same circle at the 9-12 level gives 33.
| If you are looking for... | Request this | Level | Measured result |
|---|---|---|---|
| From 1 to 20 | A simple and compact figure: an egg, a cloud, an apple, a ball | 3-5 years | ≈ 17 points |
| From 1 to 30 | A simple animal with rounded contours: a chick, a fish, a bear | 3-5 years | ≈ 29-37 points |
| From 1 to 50 | The same animal, but one level up | 6-8 years | ≈ 38-48 points |
| From 1 to 70 | Elongated figure or with legs, ears, and tail | 9-12 years | ≈ 54-70 points |
A detail that saves frustrations: very short interior strokes (an eye, an eyebrow, a smile of less than 11 mm of travel) do not carry points, they are printed already drawn as guide lines. That’s why a sheet for a four-year-old usually has a single line of points around the contour, with the face already drawn.
How is a drawing converted into a numbered sheet?
The AI does not number: it only draws. Properly numbering is a job of geometry, not creativity, and image models do it poorly (they repeat numbers, place them randomly, or skip the sequence). In Zuki Dots, the AI produces a line art —thin black lines on white, without fill, without shadows, and without numbers— and then a deterministic algorithm converts it into a sheet. These are the six steps, with the real constants from the October 2026 version:
- Binarize. Any pixel with luminance equal to or less than 128 is considered ink; the rest, paper.
- Thin the line to 1 pixel. Zhang-Suen algorithm, with a cap of 200 iterations for safety. The thick stroke of the drawing is reduced to a thread of one pixel, which allows for true length measurements.
- Clean. The "hairs" of less than 12 px (≈ 2.3 mm) left by the thinning are trimmed, and strokes of less than 24 px (≈ 4.5 mm) are discarded as noise.
- Reconstruct the strokes. Where two fragments cross and continue almost straight (less than 70° of turn), they are rejoined, so that the contour is a continuous stroke and not twenty pieces.
- Distribute the points. One point every X px of travel, where X is determined by age (60, 45, 32, or 22), with a minimum of 30 px between already numbered points. Strokes of less than 60 px become guide lines.
- Number and draw. Start from the highest and leftmost point and always jump to the nearest unvisited point, so that the sequence 1, 2, 3… always advances to the physically contiguous point. Each point is painted as a black circle of 10 px in diameter (≈ 1.9 mm) and its number in 22 px font (≈ 4.2 mm), with a white halo behind it so that it can be read even if it falls on a line.
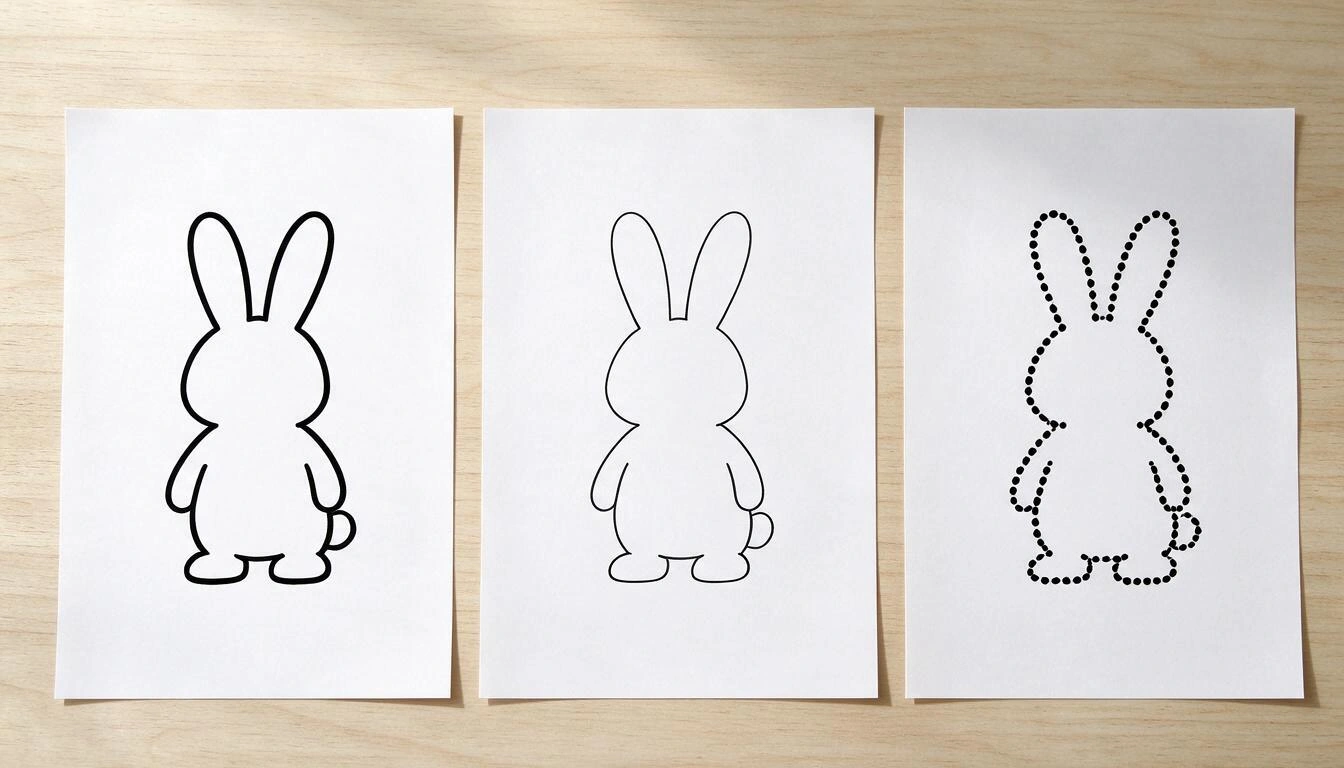
One consequence of that step 6 that is good to know before handing over the sheet: the sheet does not mark where to lift the pencil. If the drawing has several areas with points, when finishing one, the next number is the nearest point of the next area. With the 3-5 and 6-8 levels, this almost never happens (small details are done as guide lines), but in 9-12 and 13+ it’s worth telling the child: "when the next number is far, lift the pencil".
How do I print the sheet in A4 without cutting it off?
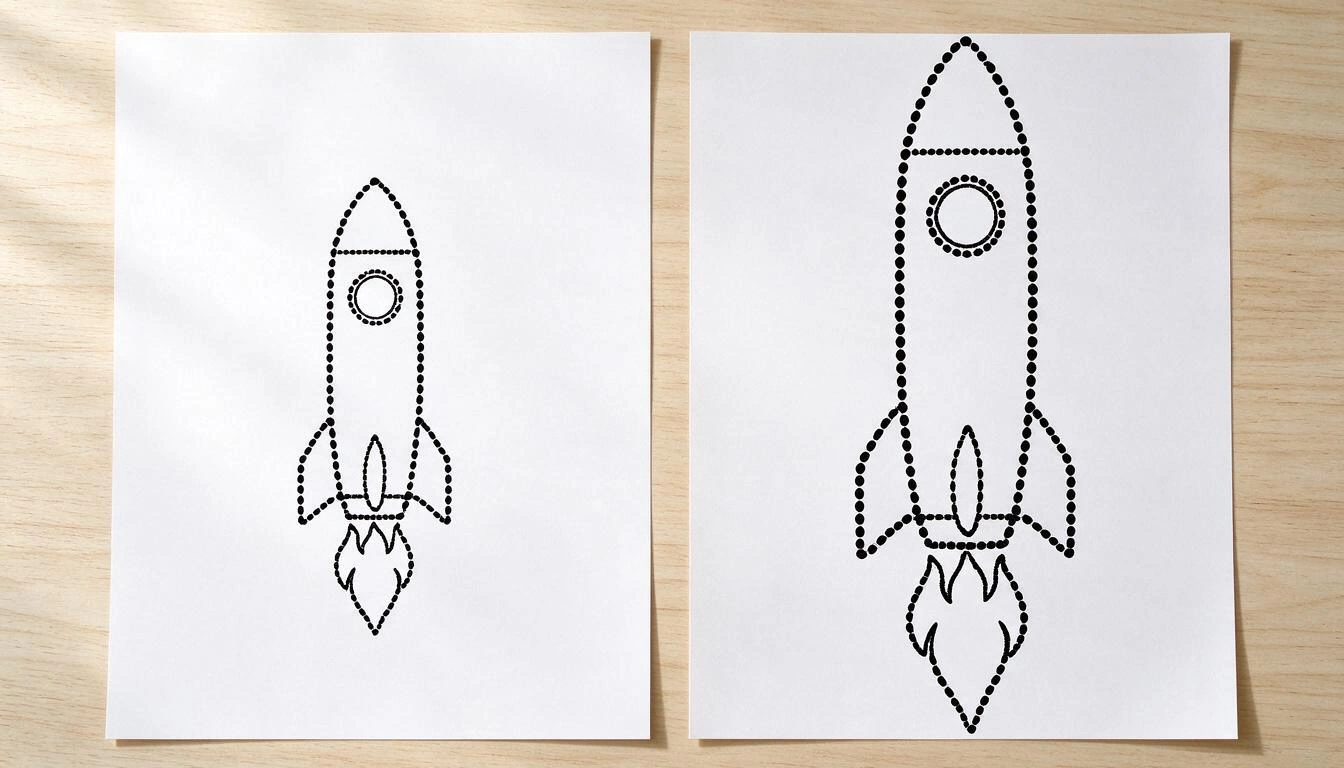
The sheet is generated at 1024 × 1536 px, that is, with a ratio of 1.5, and an A4 measures 210 × 297 mm (ISO 216 standard), ratio 1.414. Since the drawing is more elongated than the paper, if printed full width, the top and bottom parts will be cut off. The solution is to reduce it to 92% of the width: 193 mm wide by 290 mm high, which fits in A4 with margins.
The print button in Zuki Dots already makes that adjustment automatically (it opens the sheet with margins set to zero and the width reduced). If you print the downloaded PNG from another application, here are the settings for the print dialog:
| Print dialog setting | Value | Why |
|---|---|---|
| Paper size | A4 vertical | The sheet is portrait; in landscape, half is lost |
| Margins | None | The margins of the browser add to the white already on the drawing |
| Scale | Fit to printable area (or 92%) | Compensates for the sheet being more elongated than A4 |
| Color | Black and white | The sheet has no color: just black ink on white |
| Quality | Draft or normal | They are lines and points; no need to waste ink on photo quality |
At that size, the 1024 px width is distributed over about 193 mm, which means about 135 dots per inch. For a photograph, this would be low, but for black lines and round dots, it is more than enough: the smallest dot measures almost 2 mm when printed.
What ideas make good worksheets and which do not?
Those that have a single protagonist with a clear silhouette. The drawing is requested from the AI with a very specific instruction: the outer contour must be a single continuous closed line, and the interior details should be small and loose strokes. Anything that deviates from this — a scene with multiple characters, a close-up of a face, a landscape — turns out worse, because the algorithm has to distribute the points among many disconnected pieces.
| Type of idea | Examples | What comes out |
|---|---|---|
| Single figure with marked contour | "a sitting cat", "a rocket", "a dinosaur", "a smiling shark" | The best: a continuous contour and a clean sequence |
| Compact and symmetrical object | "an apple", "a house", "a sailboat" | Very well, and with few points: ideal for the youngest ones |
| Figure with thin appendages | "a unicorn with wings", "an octopus", "a butterfly" | Good, but the number of points increases quite a bit |
| Scene with several elements | "a park with three children", "a city" | Fair: the numbers jump from one figure to another (measured: 66 points distributed among three loose figures) |
| Portraits, logos, text, realistic faces | "my dog Toby in a photo", "my name in letters" | Bad: without a closed contour there is no worksheet, and the app does not write letters or names |
If you request something that the model rejects or that comes out without a drawing, the app marks the attempt as an error and you can try again while keeping the idea and age you had already chosen.
What does Zuki Dots do exactly and what does it not do?
Zuki Dots converts a phrase into a printable connect-the-dots sheet: you write the idea, choose one of the four age ranges, and the app generates the drawing and numbers it. While it works, it checks the status every 3 seconds and notifies you as soon as the sheet is ready; then you can view it in full screen with zoom (up to 5x), download it, share it from your mobile, or print it.
What it does:
- Create the drawing from scratch based on text, without uploading any image.
- Four levels of difficulty by age, which change both the detail of the drawing and the spacing between points.
- Automatic and continuous numbering, done by algorithm, not by the AI.
- Vertical sheet in black and white ready for A4, with a print button that already adjusts the size.
- Full-screen viewer with zoom and scrolling with fingers.
- Download of the PNG and, on mobile, native menu to share or save in the gallery.
- History with the last 50 worksheets, to reopen, reprint, or delete them.
What it does not do (and it's good to know beforehand):
- You cannot choose the exact number of points: the algorithm decides based on age and the drawing.
- Points are not connected on the screen: the worksheet is solved on paper, with a pencil.
- There are no alternative series (2 by 2, 5 by 5) or sheets with letters of the alphabet.
- It does not mark with symbols where to lift the pencil between two areas.
- It does not color, does not generate multi-page PDFs, or booklets.
- It does not allow editing or moving points by hand after generating the sheet.
Zuki Dots is material for play and practice for home or the classroom; it is not an educational program nor does it replace a teacher's judgment on what is suitable for each child.
Frequently Asked Questions
How many points should a worksheet have for a 4-year-old?
Between 20 and 40, and especially with the points well separated: about 11 mm between one and the next. At the 3-5 year level of Zuki Dots, a simple figure comes out with 17 to 37 points depending on its size, measured in October 2026.
Can I create a connect-the-dots worksheet from 1 to 20?
Yes, but indirectly: the number is not written, it is achieved by requesting a compact and single-piece figure (an egg, a cloud, an apple) at the 3-5 year level. In the measured test, a small circle gave exactly 17 points.
Are the points connected on the screen or do I need to print the worksheet?
It needs to be printed. Zuki Dots creates the worksheet, not the game: within the app, you can view the sheet in full screen and zoom in with your fingers to see the numbers closely, but connecting the dots is done on paper, with a pencil.
Why does the drawing get cut off when printing?
Because the sheet has a ratio of 1.5 and A4 has a ratio of 1.414: it is longer than the paper. It should be printed at 92% of the width, with margins set to "none" and the scale set to "fit to printable area". The print button in the app already applies that adjustment.
Can I choose how many points I want?
Not directly. The only difficulty control is the age range, and the final number also depends on how much line the drawing has. To increase or decrease the number, change levels or request a simpler or larger figure.
What is the level with the most points?
The 9 to 12 years level, not the 13+. The teenage level asks for points closer together, but the sheet never places two numbers less than about 5.7 mm apart so that they can be read, thus discarding some of them: measured, 70 points in 9-12 versus 52 in 13+.
Is it necessary to upload an image or find a drawing?
No. You write the idea in a sentence —"an astronaut cat", "a castle"— and the app draws that figure from scratch. There is no need to search for anything on the internet or upload any file.
Are the worksheets saved for reprinting?
Yes. The last 50 remain in the app's history with their thumbnail: they can be opened, reprinted, downloaded again, or deleted.
Is it useful for adults?
Yes, with the 13+ level, which generates drawings with more interior detail. If you are looking for worksheets with hundreds of points, this is not the tool: the minimum separation between numbers limits how many can fit on a sheet.
Zuki Dots is the mini-app from AIsToHire that converts a written idea into a numbered connect-the-dots worksheet ready to print on A4, with four levels of difficulty by age; it is available at Zuki Dots — AI Dot-to-Dot Worksheets for Kids. All figures in this article were measured on October 25, 2026, based on its numbering algorithm.
Try it out with the idea your child likes the most: write the drawing, choose their age, and print the sheet in one minute with Zuki Dots.
Try it out with the idea your child likes the most: write the drawing, choose their age, and print the sheet in one minute with Zuki Dots.Keep reading
View all articles →
Screen-Free Classrooms: 15 Pencil and Paper Activities by Age for Preschool and Primary

Discussing via WhatsApp or talking in person: what science says about couple conflicts through messages
Mind map, concept map, and outline: differences and when to use each one