 aiPicFlow
Edit photos with AI without ruining the rest of the image: remove objects, change the background, and enlarge the frame
Team at aiPicFlowWritten with AI assistance21 min readIn summary
- Image models do not edit: they generate. When you ask "remove that streetlight", the engine returns an entirely new image, not your photo with a patch. That's why it changes the face, skin texture, grain, and background signs.
- The solution is not to look for a better model, it's the method: mark only the area that changes and recompose the result over the original photo. Outside of that area, the pixels must remain yours.
- This is how aiPicFlow works: the AI only acts on the marked area and the server reassembles the image over the original with a blurred edge of between 8 and 12 pixels. If you mark more than 80% of the photo, the app stops you: that is no longer a retouch.
- Removing the background, extending the frame to 9:16, or increasing the resolution are variations of the same trick: limiting what the AI can touch and returning the rest intact.
- There are honest limits: the resolution cap is 4096 px per side, the AI does not recover detail that did not exist (it invents it plausibly) and there is no export to PSD or layers.
If you've made it this far, it's because you've tried to erase a trash can, a cable, or an unknown person from a photo with some AI tool and what came out was no longer your photo: another face, another shirt, the letters in the background turned into scribbles. It's not bad luck or a lack of skill in writing the instruction: it's how image models work internally. This article explains why, the method that does preserve your photo, and the specific steps as executed by aiPicFlow, the AI image creation and editing app from AIsToHire.
Everything described here are implemented mechanisms and real values of the app's engine as of October 2026: sizes, caps, percentages, and error messages come from its code, not from a brochure. Where something cannot be done, it says so.
Why AI changes your entire photo when you only wanted to erase a streetlight
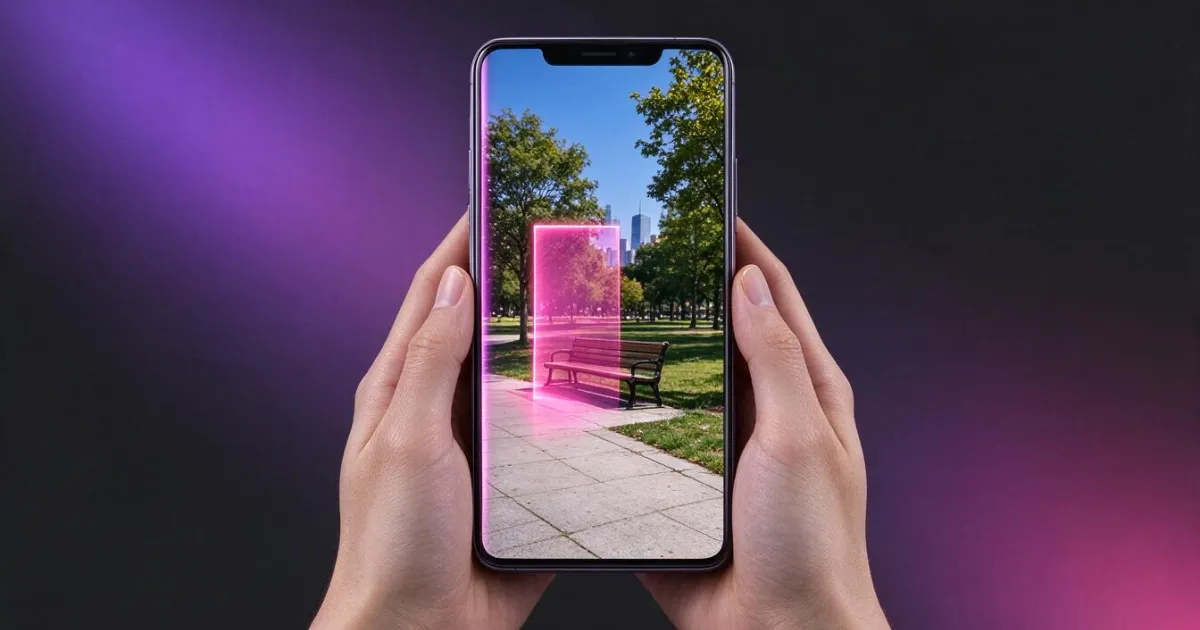
Because current image models do not modify your file: they read your photo, interpret it, and draw a new image from scratch. What they return to you is not your photograph with a patch on top, but another similar photograph, generated at the resolution that the model uses internally. Everything that was not described in the instruction is re-invented.
This explains the typical symptoms, and explains why they are always the same:
- The face is no longer the same person. The model redraws the features; they resemble each other, but they do not match.
- The texture gets "smoother". Pores, photographic grain, and fabric become a clean surface of generated image.
- The background text turns into scribbles. A sign, a license plate, or a bottle label is rewritten with invented letters.
- The framing and proportions dance. The engine works with a handful of fixed sizes: in aiPicFlow they are
1024x1024,1024x1536, and1536x1024. If your photo does not fit into one of them, what comes back no longer has your dimensions. - Small details get "organized". A cable crossing the wall, a wrinkle in the sheet, or a mole disappear without anyone asking for it.
The practical consequence is important: no tool that sends your entire photo to the model and returns its output as is can promise you that the rest of the image will not change. It is not a matter of model quality; it is a consequence of how it generates.
The method that does preserve your photo: mark the area and recompose over the original
The editing that does not ruin your image has two steps, and the second is the one almost no one mentions: first, the AI generates the change, and then the server reassembles that result over your original photo, allowing only the marked area to pass through. What remains outside the mark is not regenerated: your image is maintained.
In aiPicFlow, the process is this, operation by operation:
- You mark the area (with your finger, touching the object, or describing it with words).
- The server composes a copy of your photo with a translucent magenta veil over that area and sends it to the engine with a double instruction: change only what is marked and erase the marker.
- When the result comes back, the server recomposes it over your photo using the real mask, with a blurred edge of 8 pixels for retouches, 10 for erasing objects, and 12 for faces, so that the union is not visible.
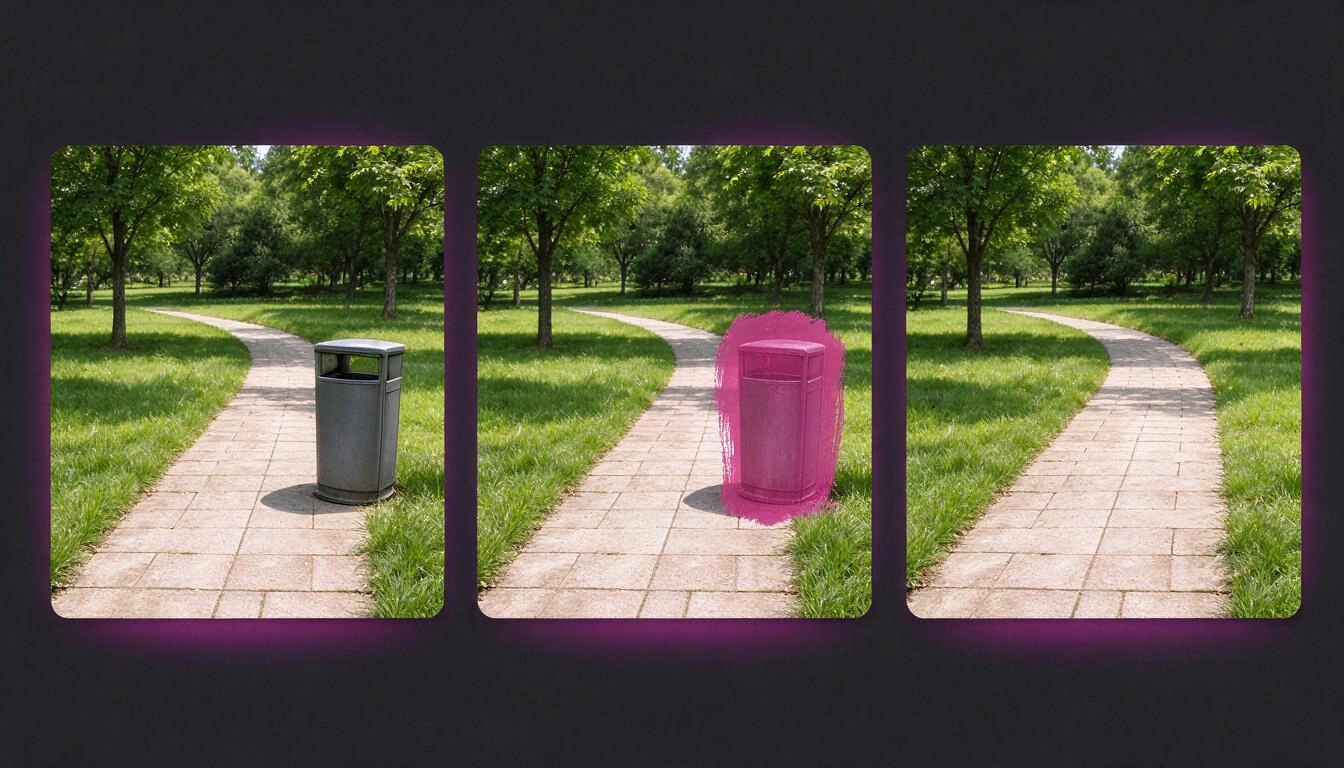
Outside the mask, the content is that of your photo: it has not been redrawn. (The final image is recompressed when saved, like any export, but the content of that area does not pass through the model.)
This mechanism is what four tools in the app use: retouching an area, removing an object, replacing an object, and enhancing faces. Extending the frame uses the same trick in reverse: everything except your photo is marked.
And it has two limits that are good to know before starting:
- If you mark a tiny area (less than 0.05% of the image), there is nothing to change and the app asks you to mark first.
- If you mark more than 80% of the photo, the app rejects it and sends you to "Transform photo": when the change is almost the entire image, the correct approach is no longer a selective retouch, but a complete transformation assuming that the result will be a new image.
What can really be fixed with AI and what can't
This is the honest table: what tool solves each task, what it keeps intact, and where the real limit is. "Keeps intact" means that part does not go through the model; when it says it can vary, it is because the operation is a regeneration.
| What you want to do | Tool | What it keeps intact | Real limit |
|---|---|---|---|
| Remove an object or a person | Delete | Everything outside the marked area | The area cannot exceed 80% of the photo |
| Change something specific (a color, a garment, an object) | Touch up area / Replace | The rest of the photo | The area must be marked or the object described |
| Remove the background | Background → Remove | Nothing: the subject is redrawn over white | Subject and background of the same light color blend |
| Change the background | Background → Change | Nothing by recomposition; the engine is asked to maintain face, pose, and clothing | It is a regeneration: the subject may vary slightly |
| Expand the frame or change format | Extend | The original area, intact in the center | Each side can double at most |
| Increase resolution | Improve resolution | Composition, framing, and colors | Limit of 4096 px per side |
| Improve blurry faces | Improve faces | Identity, age, skin texture, and expression | Only sharpness and lighting: does not "beautify" |
| Remove noise or correct color | Remove noise / Adjust color | Framing and content | Fast mode without AI, or AI pass if it doesn't reach |
| Adapt to various formats at once | Adapt ratio | Depends: cropping keeps pixels, extending adds | Cropping cuts; extending invents margins |
How to remove an object or a person from a photo, step by step
There are four steps, and the only one that requires judgment is the second: telling it what to remove. In aiPicFlow you can touch the object on the screen, write its name ("the trash can", "the red car") or paint it by hand with your finger if the first two methods fail.
- Upload the photo. From the mobile gallery or by taking a photo with the camera. The app corrects the orientation (the typical vertical that appears sideways) and reduces the image to 2048 pixels on its largest side before working with it.
- Indicate what is excess. By touching a point or writing a description, a vision model locates the object and returns up to 6 matches with its label in your language: useful when there are four identical chairs and you want to remove two.
- Review the area before launching. The app automatically enlarges the detected area by 12% to include the edge, the contact with the ground, and part of the shadow. If the detection is not accurate, paint the area with a finger (two fingers zoom, do not paint).
- Launch and compare. The engine fills the gap with the continuation of the background —the instruction explicitly includes shadows and reflections— and the result comes with a before/after comparator. If it doesn’t convince: undo and repeat marking differently.
Three things that make a difference in the result:
- Also mark the shadow. If you delete the trash can but leave its shadow, the eye detects the trick instantly.
- One object per pass. Two distant objects in the same mask force the engine to invent a lot of surface at once. Two small passes work better than one large one.
- Be careful with what is attached to the subject. A bag resting on a leg shares an edge with it; it’s advisable to paint by hand and be generous only on the background side.
How to remove the background without it looking cut out (and how to change it later)
Removing the background well is a problem of edges, not of cutting. aiPicFlow solves it in two stages: it asks the engine for the subject on a pure, uniform white, and then the server converts that white into real transparency advancing from the edges of the image inwards, without touching the inner whites.
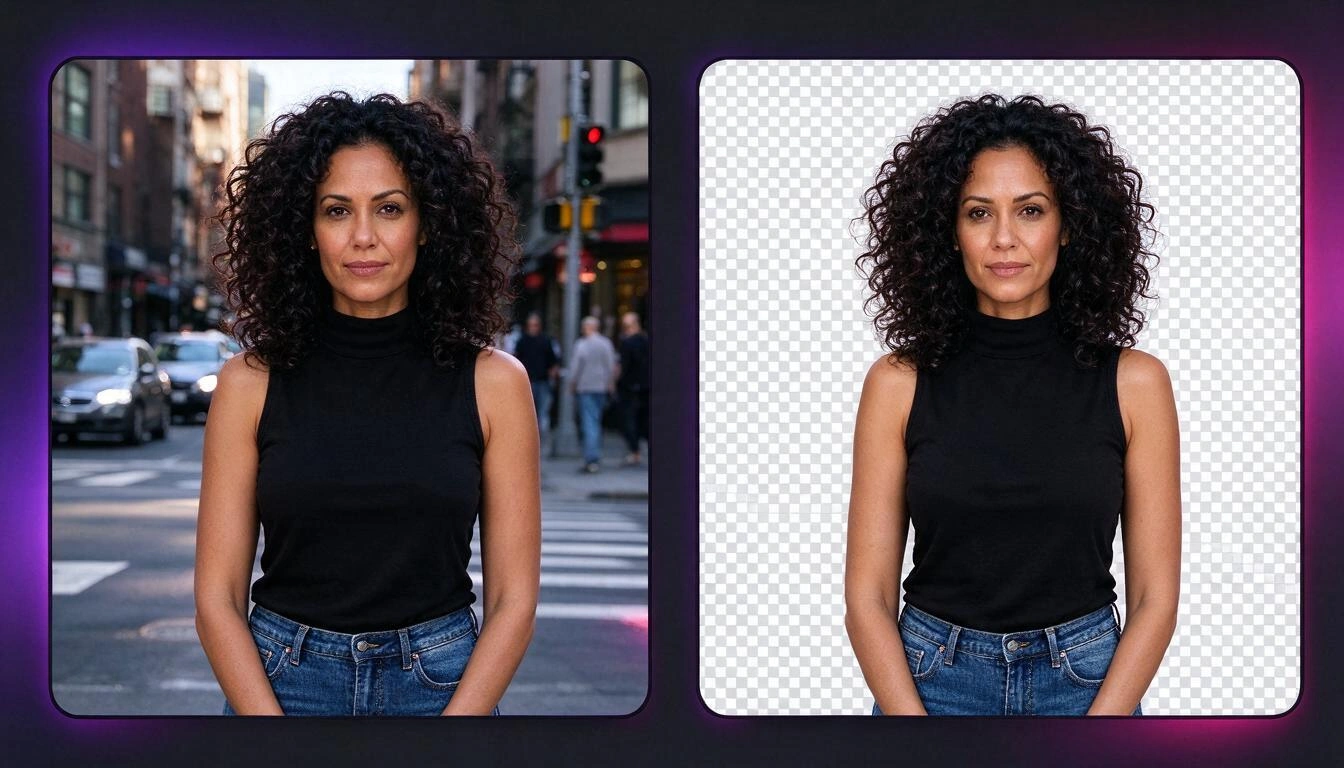
That detail —advancing from the outside— is what avoids the classic error of automatic cuts: that a white shirt, a plate, or the whites of the eyes remain transparent. Only the white connected to the edge of the image becomes transparent; the white enclosed within the subject is preserved.
What the app offers around this:
- An option for hair and fine edges that insists to the engine on maintaining strands and fur complete and smooth.
- 12 prepared backgrounds (white studio, gray studio, beach, office, city, nature, sunset, marble, wood, gradient, black, and bokeh lights), in addition to describing the background you want with your words, putting a flat color, or using another of your photos as a background.
- Harmonize the light, activated by default: it asks the engine to adjust lights, shadows, and color temperature of the subject to the new background so that the montage does not look off.
Two honest warnings. The first: removing the background is a regeneration of the subject, not a pixel-by-pixel cut of your photo; that’s why it works so well on objects and products and you have to look more carefully at portraits. The second, and this is the one that causes the most disappointments: if you download in JPG, the transparency fills with white, because that format does not have an alpha channel. To preserve the cut, download in PNG or WebP.
How to adapt a photo to 9:16, 4:5, or 1:1 without cutting what's important
There are two paths and it's wise to choose consciously: crop (instant, no AI, but you lose framing) or extend (the AI draws the missing margins and you keep everything that was there). aiPicFlow allows both and applies them to multiple formats at once.
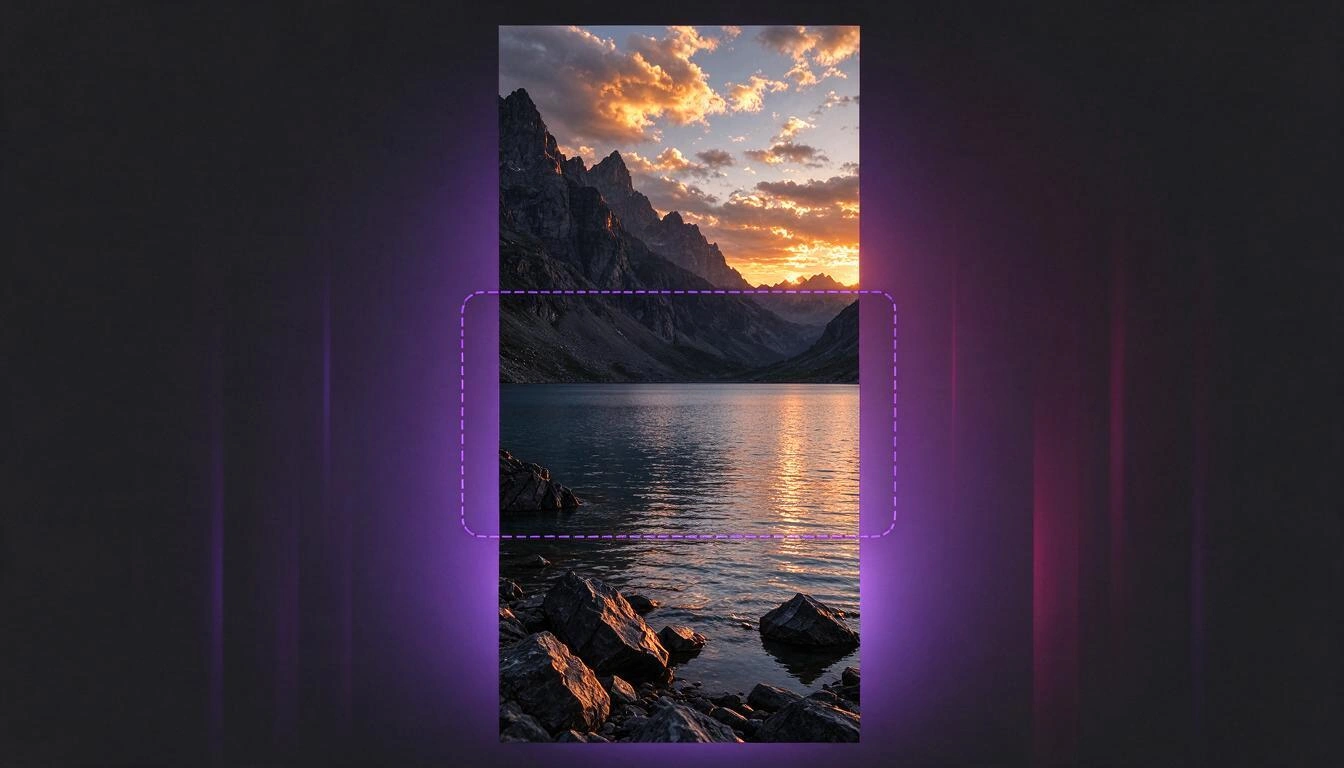
When cropping, the server does not cut from the center: it looks for the region with the most relevant content and frames there. It's instantaneous and does not go through the AI, so it's the default option when the subject is loose within the photo.
When extending, the server builds a larger canvas with your photo in the center and empty margins, and asks the engine to fill in only those margins continuing the scene (perspective, light, textures, and color). Your original area is not redrawn. The limit: it cannot be enlarged more than double on each side, because beyond that, the invented part weighs more than the photo.
The six available formats:
| Format | Ratio | For what |
|---|---|---|
| Square | 1:1 | Feed, avatars, product sheets |
| Vertical | 4:5 | The vertical that the Instagram feed accepts |
| Stories | 9:16 | Stories, Reels, TikTok, full mobile screen |
| Vertical photo | 2:3 | Classic vertical camera ratio |
| Horizontal | 16:9 | Video, covers, presentations |
| Landscape photo | 3:2 | Classic horizontal camera ratio |
Practical rule: if you go from horizontal to 9:16, extend; if you go from 1:1 to 4:5, crop. The difference in invented surface between one case and the other is huge.
How far can you "improve the resolution" of a photo
You can multiply by 2 or 4, with a maximum of 4096 pixels per side. But you must understand what's happening: the AI does not recover the detail that your photo never had, it plausibly invents it. On fabric or a wall, it looks perfect; on a car license plate or someone's face in the distance, it is inventing information.
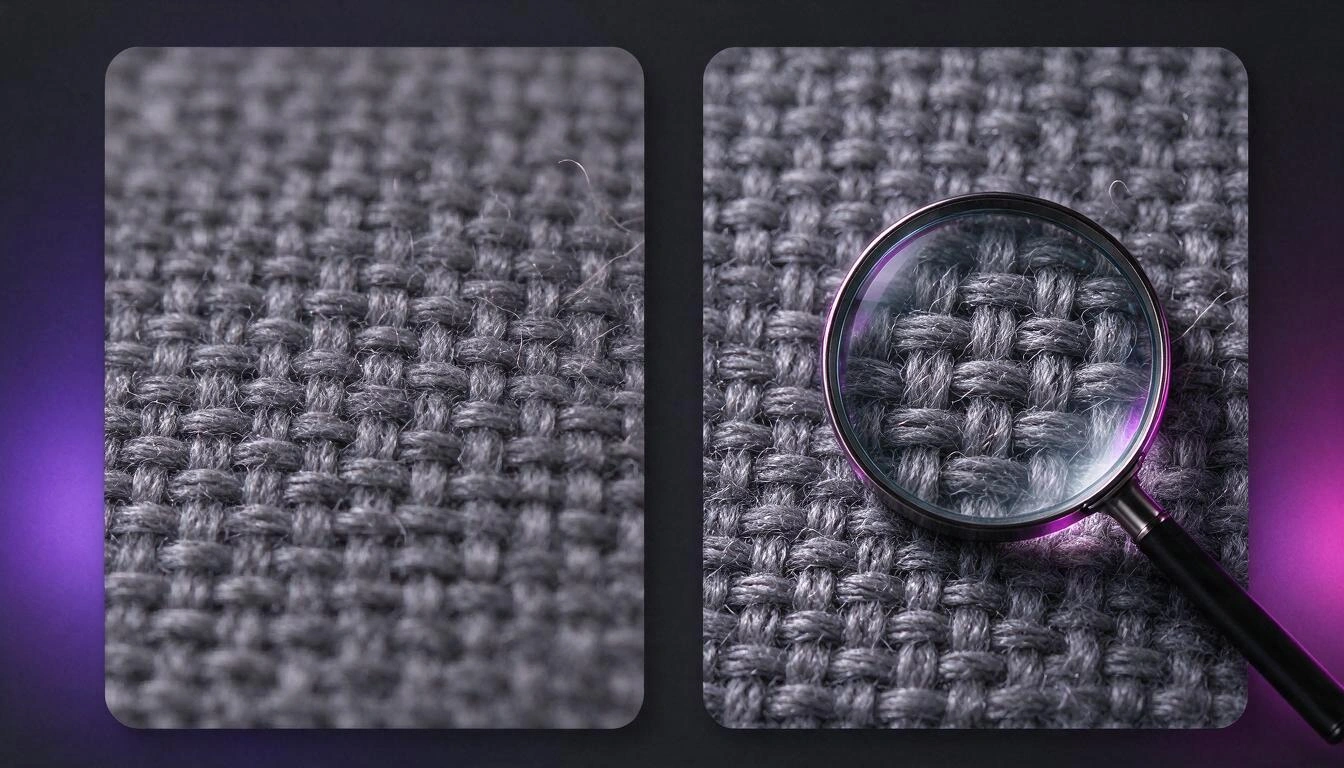
The process in aiPicFlow has two phases, and there is a technical reason: the image engine returns at most 1536 pixels per side, so it cannot directly deliver a large image.
- Local rescaling (without AI) to the target size with a lanczos algorithm and a soft focus.
- Detail pass with AI over that base, with the instruction not to change content, composition, colors, or framing, just to restore micro-detail and clean blur and compression artifacts. There are two modes, photography and illustration, because what is "credible detail" in a photo is noise in a drawing.
When it's worth it:
- Yes: small photos that you need to print, images downloaded from a website with compression artifacts, textures and landscapes, illustrations with soft lines.
- Regular: medium close-up portraits, where skin can look plastic if you upscale too much.
- No: reading something that cannot be read (a sign, a license plate, a dorsal number). Whatever comes out will be plausible and false. Never use it as proof of anything.
A note that confuses many people: as the photo is reduced to 2048 px when uploading, a "x4" starts from there, not from the 12 megapixels of the original. If you need the maximum possible resolution, upload the already cropped photo to what interests you instead of uploading the entire original.
Eight mistakes that ruin an AI edit
Almost all bad results come from the same eight mistakes, and none have to do with "writing the prompt better".
- Marking half the photo. Above 80%, the app prevents you, but well before that threshold, the result already degrades. Mark just enough.
- Asking for two things at once. "Remove the car and change the sky" are two operations. Chain them: the engine handles a clear instruction much better.
- Forgetting the shadow and the reflection. The object disappears but its shadow is still there, and the photo screams "edited".
- Expecting the megapixels of the original. When uploading, the photo is reduced to 2048 px on the larger side.
- Downloading in JPG something with transparency. The cropped background fills with white. PNG or WebP.
- Using "enhance faces" expecting a beauty filter. It does the opposite on purpose: the instruction preserves identity, features, age, skin texture, and expression, and expressly prohibits slimming, smoothing, or removing wrinkles. It's a sharpness and lighting corrector.
- Chaining ten edits without looking back. Each step is saved as a version (up to 50 per session) and you can undo, redo, or jump to any previous point. Use it: comparing version 3 with 7 avoids redoing everything.
- Trusting the text within the image. Models write poorly. If you ask for a label, verify it (see the FAQ) and keep it short.
What operations use AI and which are instantaneous
Not everything you do in an AI editor goes through a model. In aiPicFlow, part of the work is done by the server with classic image processing: it is instantaneous and does not consume AI. Knowing which is which changes the way you work.
| Operation | Does it go through AI? | What happens |
|---|---|---|
| Crop to another format | No | Automatic framing by area of interest |
| Adjust color (6 presets or manual) | No | Local brightness, saturation, hue, and contrast |
| Remove noise, fast mode | No | Median filter and sharpening |
| Undo, redo, revert to a version | No | Pointer over the version stack |
| Export in PNG, JPG, or WebP | No | Local conversion |
| Delete, retouch, replace, faces | Yes | Marked area + recomposition over the original |
| Remove or change the background | Yes | Regeneration of the subject + alpha or new background |
| Extend the frame | Yes | Margin filling, center intact |
| Upscale resolution, noise, or color with AI | Yes | Pass of the engine over the entire image |
| Create from text and transform a photo | Yes | Complete generation |
AI operations are queued and consume tokens from your account; instantaneous ones do not. That's why it makes sense to solve first what can be resolved without a model — framing, color, soft noise — and reserve the engine for what truly needs it.
Saying it with words instead of looking for the tool
If you don’t want to learn what each button does, the editor accepts instructions in plain language and translates them into concrete operations. You write "remove the lamp on the left and put a white studio background" and the app breaks it down into the corresponding steps and executes them in order.
The operations understood by the conversational mode are the same as the buttons: delete, replace, retouch an area, remove or change the background, extend the frame, upscale resolution, noise, color, faces, transform, and adapt the ratio. There’s no extra magic: it’s a shortcut so you don’t have to know what each tool is called.
In the text creation section, there are two aids along the same line: a button that rewrites your description with details of light, framing, and materials (or just organizes it, if you work in literal mode, without adding anything you haven’t written), and the option to start from a photo to get its description and generate variants from there.
Before editing photos that include people
Two non-technical warnings that are worth keeping in mind: editing and publishing the image of another person requires their consent, and an image edited with AI ceases to be a document of what occurred. Do not use it to validate facts (an accident, a product's state, an identity): the micro-detail that a model adds is invented by definition.
aiPicFlow also applies moderation from the engine provider. When a request is rejected, the app does not show the technical error: it classifies the reason and suggests a reformulation of the instruction so you can try it another way.
What aiPicFlow does and what it does not
aiPicFlow creates images from a description and edits photos by areas within the AIsToHire panel, from the mobile or computer browser, without installing anything. This is what it does not do, stated:
- Does not export to PSD or in layers. The available formats are PNG, JPG, and WebP. If you request PSD, the message states it clearly.
- Does not reach 8K. The real limit is 4096 pixels per side.
- Does not have its own plans or watermark by plan. The platform operates with account tokens.
- Does not train a model with your photos. What it calls "own model" is a set of 5 to 20 reference images sent along with the instruction to maintain a character, a style, or a pose; there is no real training behind it.
- Does not publish your images. They are private by default; sharing in the community gallery is an explicit action on your part.
About your photos: you can choose how long the originals you upload are kept (1 hour, 7 days, 30 days, or indefinitely), what goes to the trash is permanently deleted after 30 days, and there is an option for total deletion of your data from the app in Settings.
Frequently Asked Questions
Can you tell when you remove someone from a photo with AI?
You can tell when the fill doesn't match what was behind it or when there is a shadow left. With the marked area and recomposition method, the rest of the image doesn't change, so the only point to check is the patch: look at the ground, the horizon line, the tile joints, and the reflections. If the background behind is repetitive (grass, wall, sand, water), the result is usually undetectable; if there was a complex object partially covered, check and repeat.
Why does my photo come out smaller than I uploaded it?
Because when you upload it, it is reduced to 2048 pixels on the larger side. This is the size that editing tools work with. If your goal is to print, you can increase the resolution later (up to x4, capped at 4096 px), but the starting point will be that 2048 px image, not the original from the camera.
Can I edit photos with AI from my mobile without installing anything?
Yes. aiPicFlow works within the AIsToHire panel in the browser, with tools designed for touch: you paint the area with one finger and zoom with two. You can upload photos from the gallery or take them with the camera at that moment. You need an account; there is no demo without registration.
Will AI change my face when improving a photo?
If you use "enhance faces," the instruction the engine receives requires maintaining identity, features, age, skin texture, and expression, and expressly prohibits beautifying, slimming, or removing wrinkles; moreover, the result is recomposed only over the area of the faces. Where it can change the face is in operations that regenerate the entire image: transforming the photo, changing the background, or removing the background. Always review them in the before/after comparator.
How much can the resolution of a photo be increased?
x2 or x4, with an absolute cap of 4096 pixels per side. If the image already reaches that size, the app will notify you that it is at maximum resolution. And it is important to note: the new detail is invented plausibly, not recovered from the original.
Can I undo a change if I don't like it?
Yes. Each edit creates a new version within the session (up to 50), and you can undo, redo, or jump directly to any previous version. The original image is never lost as long as you keep it in the gallery.
In what format should I download if I have removed the background?
In PNG or WebP. JPG does not support transparency: when exporting in JPG, the transparent background is filled with white. The app will notify you when that is going to happen.
Can it be exported in PSD or layers?
No. The download formats are PNG, JPG, and WebP. Exporting to PSD is not available, and the app explicitly states this instead of failing silently.
Can I put text inside the generated image?
You can request it (up to 120 characters, with position and style), but it is worth knowing that image models write poorly: the longer the text, the worse it is. That's why the app reads the text from the resulting image and compares it with what you requested, to warn you if it doesn't match. For long captions, it is reasonable to generate the image without text and add the text later in your layout tool.
What happens to my photos? Do they stay saved forever?
You decide how long the originals you upload are kept: 1 hour, 7 days, 30 days, or indefinitely. What you send to the trash is permanently deleted after 30 days, and in Settings, there is an option to delete all your data from the app. Your images are private unless you choose to publish them in the community gallery.
Is it necessary to know how to write prompts to use it?
Not for editing: there you work by marking areas and saying what to change with a normal sentence, or directly writing it to the editor in plain language. To create images from scratch, it does help to describe well, and that's why there is a button that rewrites your description adding detail about light, framing, and materials, and a literal mode that adds nothing you haven't written.
How long does each operation take?
Those that do not use AI —cropping to another format, color presets, the quick noise removal mode, undo, redo, and export— are immediate. Those that go through the engine are queued and take a few seconds; you can continue using the app in the meantime, and the app notifies you when the result is ready.
aiPicFlow is the AIsToHire app for creating images from a description and editing photos by areas with AI —removing objects, changing or removing the background, extending the framing, increasing the resolution— keeping intact everything you don't mark. It works in the browser, also on mobile, and is available at aiPicFlow — Create images by typing and retouch your photos without editing.
Upload a photo, mark what’s unnecessary, and see the before and after: try aiPicFlow for free at AIsToHire.
Upload a photo, mark what’s unnecessary, and see the before and after: try aiPicFlow for free at AIsToHire.Keep reading
View all articles →
Should AI-generated images be labeled in 2026? What Article 50 of the AI Act demands
Discussing via WhatsApp or talking in person: what science says about couple conflicts through messages
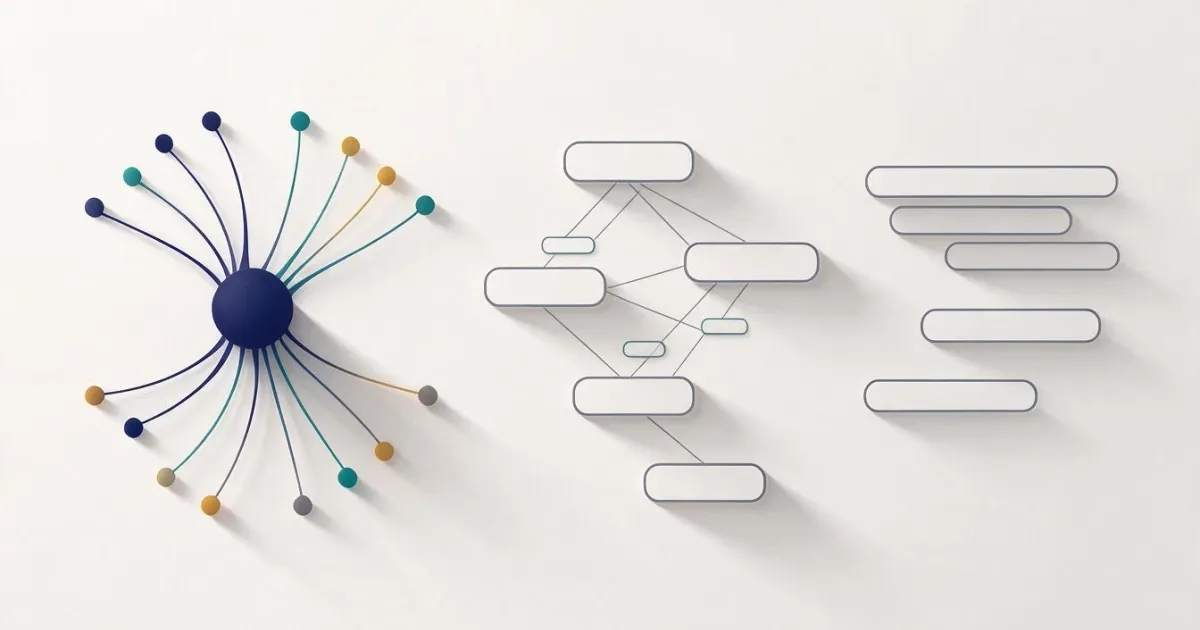
Mind map, concept map, and outline: differences and when to use each one